
If your iPhone 7 has gone from “fine” to a spiderweb of cracks, odd lines, or a screen that won't respond properly, you're probably at the point where a quick fix won't cut it. The hard part isn't just replacing the display, it's deciding whether the phone is worth repairing, which parts are worth paying for, and whether you should trust the job to your own hands, a mail-in workshop, or Apple's service route.
A proper iPhone 7 LCD replacement is still a sensible repair in Britain, but only if you treat it as a decision first and a screwdriver job second. The display on this model is an older 4.7-inch Retina IPS LCD with 1334 × 750 resolution at 326 ppi, and the screen is a fused assembly, not a glass-only swap (iPhone 7 screen type and replacement guide, iFixit iPhone 7 LCD and Digitizer Replacement).
Table of Contents
- What an iPhone 7 LCD Replacement Involves
- DIY, Mail-In Repair, or Apple Service Which Path Fits
- Tools, Parts, and Workspace Setup
- The Repair Itself From Power Down to New Screen On
- Refurb, Aftermarket, and OEM-Style Assemblies Explained
- Reassembly and the Post-Repair Quality Check
- When DIY Is the Wrong Call and How a Mail-In Repair Helps
What an iPhone 7 LCD Replacement Involves
A cracked front glass sends plenty of people looking for iphone 7 lcd replacement, then the inspection shows the fault runs deeper. On this model, the touch layer and display are bonded into one front assembly, so the job is usually about replacing the complete unit, not separating a loose panel from the frame (iFixit iPhone 7 LCD and Digitizer Replacement).
What the screen assembly is doing
The iPhone 7 uses a 4.7-inch Retina IPS LCD display at 1334 × 750 pixels and 326 ppi, so any replacement part has to match that older LCD setup rather than later OLED hardware (iPhone 7 screen type and replacement guide). That matters because a lot of buyers still read “screen” as if it means only the outer glass. It does not.
Broken glass, dead zones, vertical lines, touch lag, a blacked-out section, or no image at all usually point to a full display assembly swap. If the phone also shows no power, odd battery drain, or symptoms that do not change after the display fault is ruled out, the LCD may not be the only part at fault. A proper diagnosis starts with the symptom pattern before any parts are ordered.
What Apple considers repairable
Apple treats display service as a full screen replacement, not a glass-only repair, and its UK support pages say pricing depends on model and coverage status (Apple UK screen replacement support). That matters for older devices like the iPhone 7, because the repair choice comes down to the phone's age, its remaining value, and the standard of the assembly being fitted.
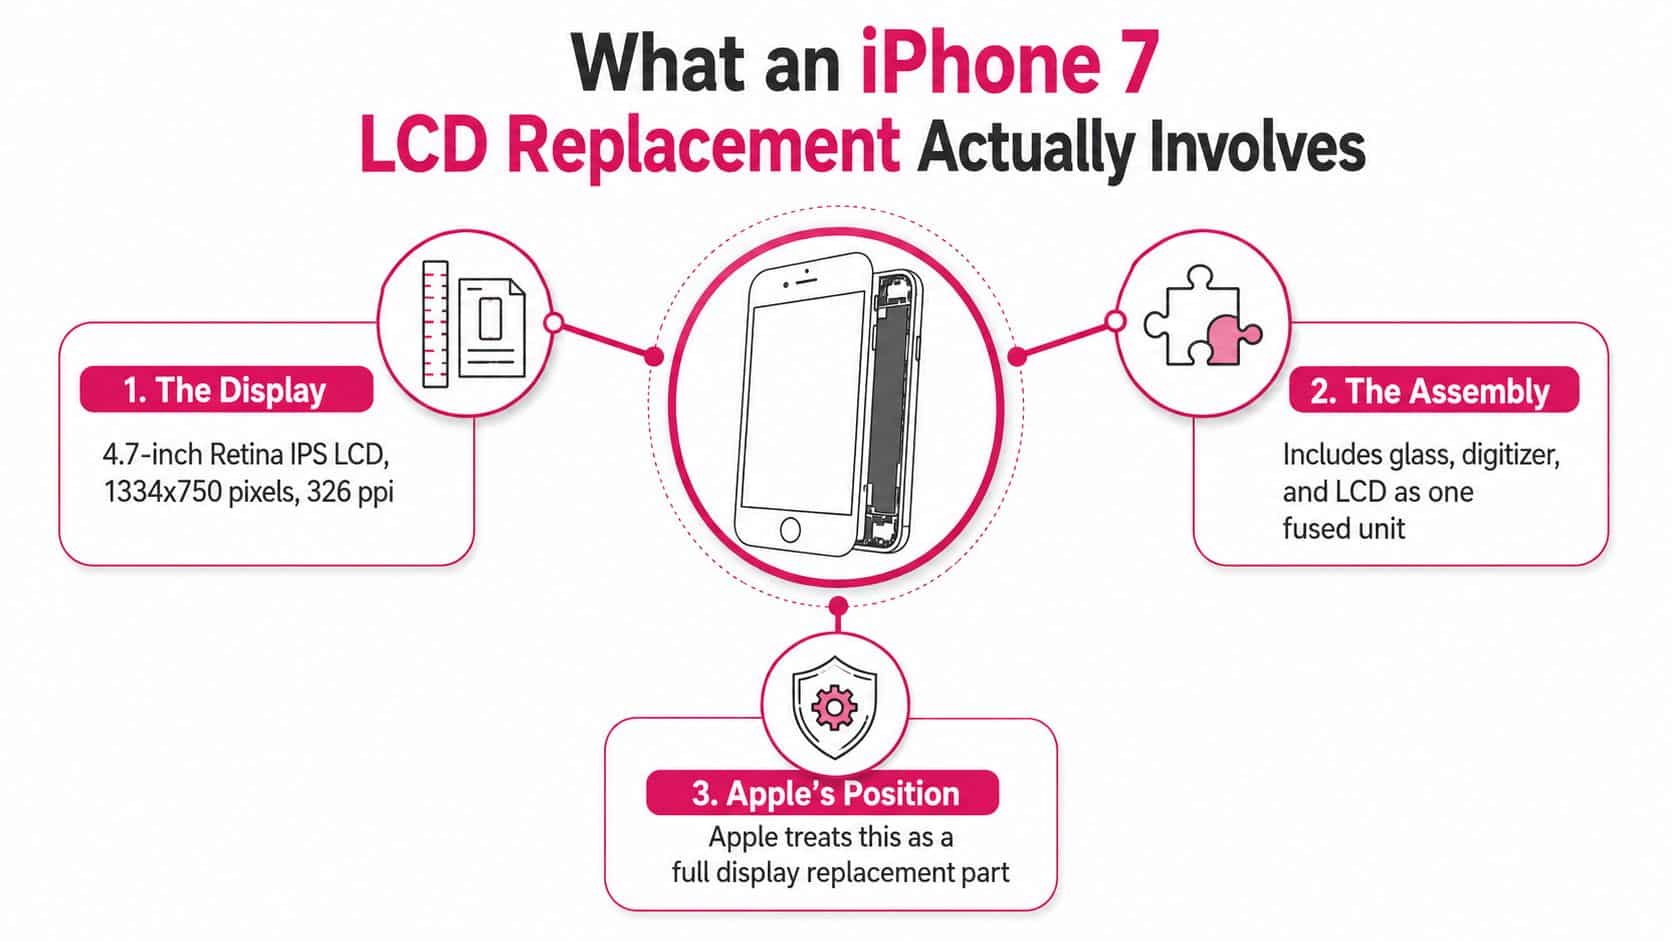
Practical rule: if the display image is unstable, the touch layer is dead, or the glass is separating, treat it as a whole assembly job. That is the part you buy, fit, and test.
If you want a wider buying overview before opening the phone, read this iPhone LCD screen replacement guide. The quality questions start before the first screw comes out.
DIY, Mail-In Repair, or Apple Service Which Path Fits
A cracked iPhone 7 screen forces a choice before any screws come out. You can do the job yourself, post the handset to a repair shop, or hand it to Apple. The right route depends on your confidence with small parts, how much risk you can accept, and how much you want to spend.
The cost spread is real
A DIY parts benchmark in the UK is the iFixit iPhone 7 screen kit at £34.99 (iFixit UK iPhone 7 screen). Independent repair-market guidance also places third-party screen assemblies in a wider global range of $40 to $95, while Apple's out-of-warranty screen service is cited at $149 in international references (iPhone 7 historical and repair market context, Apple screen pricing context in support materials). Apple's UK public page focuses on AppleCare+ screen-damage pricing at £25 and £0 for battery service, with older models usually handled through the standard service route rather than a separate public price list.
That spread matters on an older phone. If the handset still has value to you, a lower-cost parts swap can make sense. If the phone is due for retirement, the repair route needs to be judged against the remaining life of the device, not just the sticker price of the screen.
Which route fits which owner
| Path | Typical UK Cost | Skill Required | Warranty | Risk of Further Damage |
|---|---|---|---|---|
| DIY | Parts-only, often the lowest outlay | High | Depends on supplier | Highest if you damage flex cables or the home button |
| Mail-in repair | Mid-range and predictable | Low from the customer's side | Usually included by the provider | Lower than DIY if the workshop tests properly |
| Apple service | Usually the most expensive route for older devices | None from the customer | Depends on service and coverage status | Low on workmanship, but less flexible on part choice |
DIY suits someone who has already opened phones, owns the proper tools, and is comfortable working around the iPhone 7's fragile flex cables and home button assembly. One slip can turn a screen swap into a much bigger repair.
Mail-in repair is the cleaner choice for owners who want the work done by a workshop without spending time at a counter. It also helps when you want the phone tested before it comes back, which matters more than people expect after a display swap. If that route fits your setup, a UK mail-in phone repair service is the sort of option that keeps the process simple from the customer side.
Apple is the sensible route when you want official handling and you are willing to pay for it. It suits owners who care more about the service path than the parts market, especially if the device still sits within an AppleCare+ or service-eligible support channel.
Tools, Parts, and Workspace Setup
A screen swap goes wrong long before the new panel is fitted if the bench is poorly set up. Lost screws, contaminated adhesive, and the wrong pry tool usually turn a straightforward iPhone 7 repair into a drawn-out one.
Build the bench like a technician
Start with a clean, bright, static-aware workspace. An anti-static mat helps, a magnetic driver tray helps, and a small parts dish keeps the tiny fasteners from vanishing the moment they leave the mat.
The tool list is simple, but the sizes have to be right. You need a pentalobe P2 driver for the two 3.4 mm bottom screws, a Phillips #000 for internal connectors, a tri-point Y000 for bracket screws, a suction handle, nylon spudger, plastic opening picks, fine-tip tweezers, and a controlled-heat source such as a heat pad or a hair dryer. Basic walkthroughs for the iPhone 7 screen job use the same core set of tools, which is a good sign that the job does not need anything exotic, just the right drivers and a steady hand (Instructables iPhone 7 display replacement, HKLab iPhone 7 LCD guide).
A bargain kit without the correct pentalobe bit is a warning sign, not a saving. If the phone cannot be opened cleanly, the repair is already off to a bad start.
What to buy and what to avoid
- Buy a matching display assembly: The replacement needs to suit the iPhone 7's LCD layout, not a later OLED unit.
- Buy pre-cut adhesive strips: They give a neater reseal than trying to reuse tired adhesive.
- Buy isopropyl alcohol: It helps clear frame residue before the new screen goes on.
- Avoid oversized metal tools: They can slip into flex cable areas and damage something costly.
- Avoid kits with missing drivers: If the listing does not include the pentalobe bit, treat that as a red flag and keep looking.
Before the first screw comes out, run through this phone repair checklist and make sure the parts, tools, and workspace are all ready. That sort of prep saves time, and it stops the common mistake of opening the phone only to discover a missing driver or the wrong adhesive strip.
The Repair Itself From Power Down to New Screen On
A clean iPhone 7 screen swap starts before the phone opens. The device needs to be powered off, the frame warmed enough for the adhesive to relax, and the opening done with care so the flex cables along the edges stay intact.
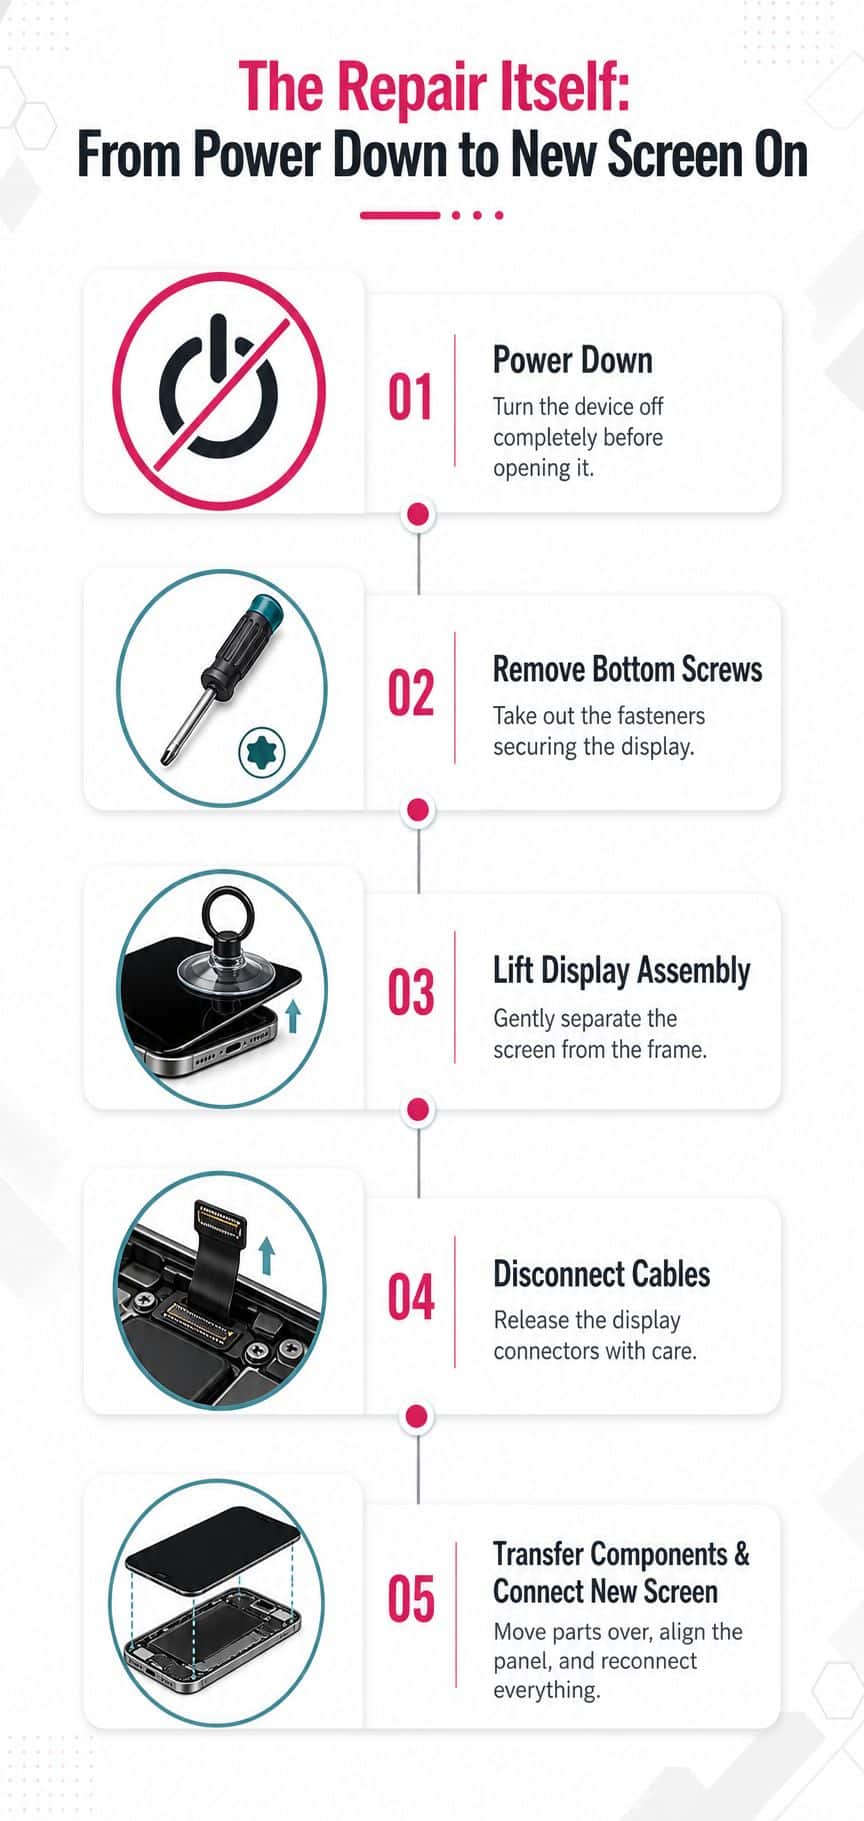
With the phone switched off, remove the two bottom pentalobe screws first. Apply controlled heat around the display, then use a suction cup to lift a small gap along the left edge. That edge is the safe side to work from, because the front sensor flex sits near the top and a slip there can turn a simple replacement into a far bigger repair.
Open it like a book, not like a tin
Once the gap is open, a pick only needs to go in a few millimetres. That is enough to break the adhesive seal without reaching the internal cables or the LCD shield plate. The display should swing open from the right side like a book, and it should not be forced flat. If the front glass is cracked, suction can be awkward, so taping the panel first or adding a little more heat and IPA usually gives you a better starting point.
Disconnect the battery before touching the display connectors. That order lowers the risk of shorting the board while the phone is open. Keep the bracket screws together and label them as you remove them, because they look similar but do not always belong in the same place.
Do this in the right order, or stop. Battery first, then display data lines, then the rest of the transfer work.
Transfer the parts that make the new screen function
The home button, earpiece, front camera assembly, and shield plate move from the old display to the replacement. The home button needs the most care, because it is paired to the logic board and a torn flex here can kill Touch ID for good. Many DIY jobs go wrong here, usually because the transfer gets rushed and metal tools are used where plastic should be doing the work.
Fit the new adhesive, seat the replacement display, reconnect the cables in reverse order, and close the phone from the top edge first. The bottom screws only go back in once the screen sits flush and the frame lines look even. A good repair feels boring at the end, and boring is exactly what you want.
Refurb, Aftermarket, and OEM-Style Assemblies Explained
The part you choose decides whether the repair feels crisp or merely acceptable. A lot of buyers look at the price first, then notice later that the colours seem flatter or the touch response does not feel quite right.
The three common listings
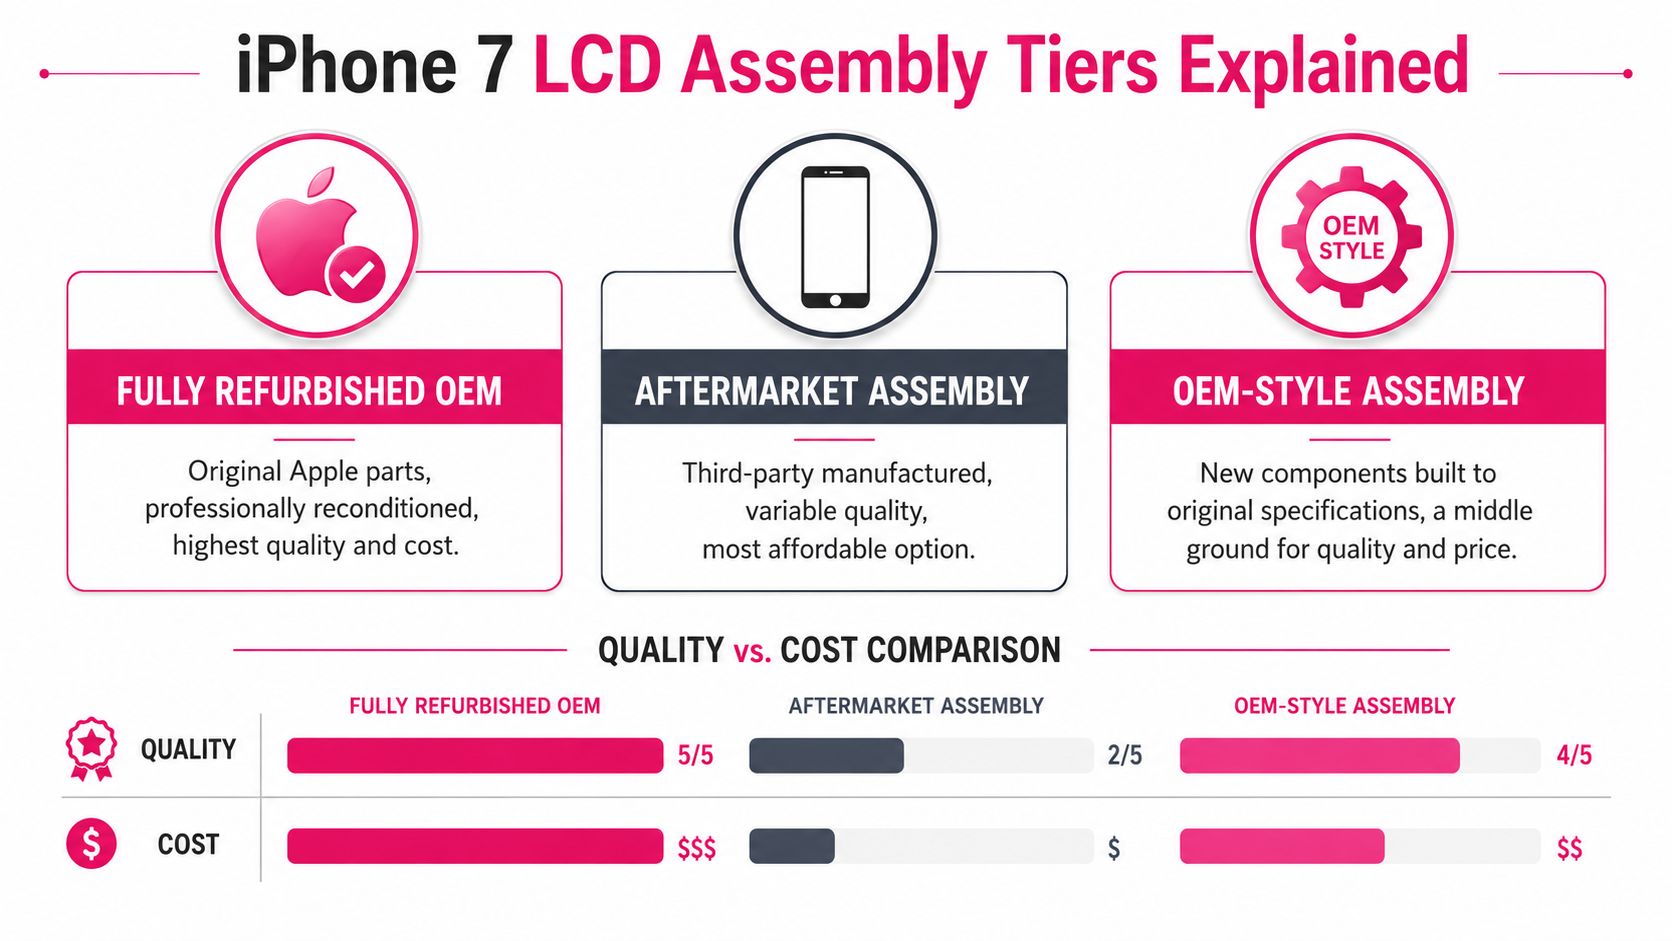
A fully refurbished OEM assembly is an original Apple part that has been professionally reconditioned. It usually gives the safest result for colour consistency and overall feel, although it is generally the priciest option. An aftermarket assembly is made by a third party, so the price is often lower and the quality can vary more from seller to seller.
An OEM-style assembly sits in the middle. It is built to original specifications, but it is not pulled from a working iPhone, which makes it a practical choice for buyers who want a better balance between cost and appearance.
What to watch after the repair
The main differences show up in brightness uniformity, touch responsiveness, and the way the panel ages over time. A cheap part can look fine in a seller photo and still show a dead pixel, uneven colour, or a slightly muddy backlight once it is installed. That is why the assembled unit matters more than the LCD panel on its own.
Apple's newer guidance also makes verification easier, because users can check Parts and Service History in Settings and see whether a display is recognised as genuine (Apple parts and service history support). That does not solve every quality issue, but it gives you a better post-repair reference point than older guides ever had.
If a shop is selling a £34.99 kit at one end and a much pricier assembly at the other, both can be legitimate products aimed at different customers. The mistake is buying by price alone, then acting surprised when the display does not feel like the phone you were using before.
Reassembly and the Post-Repair Quality Check
Reassembly is where a screen swap proves whether the job was done properly. If the connectors seat cleanly and the display closes flush, the phone usually behaves as expected. If something is pinched, misaligned, or left loose, the fault shows up quickly.
What I check at the bench
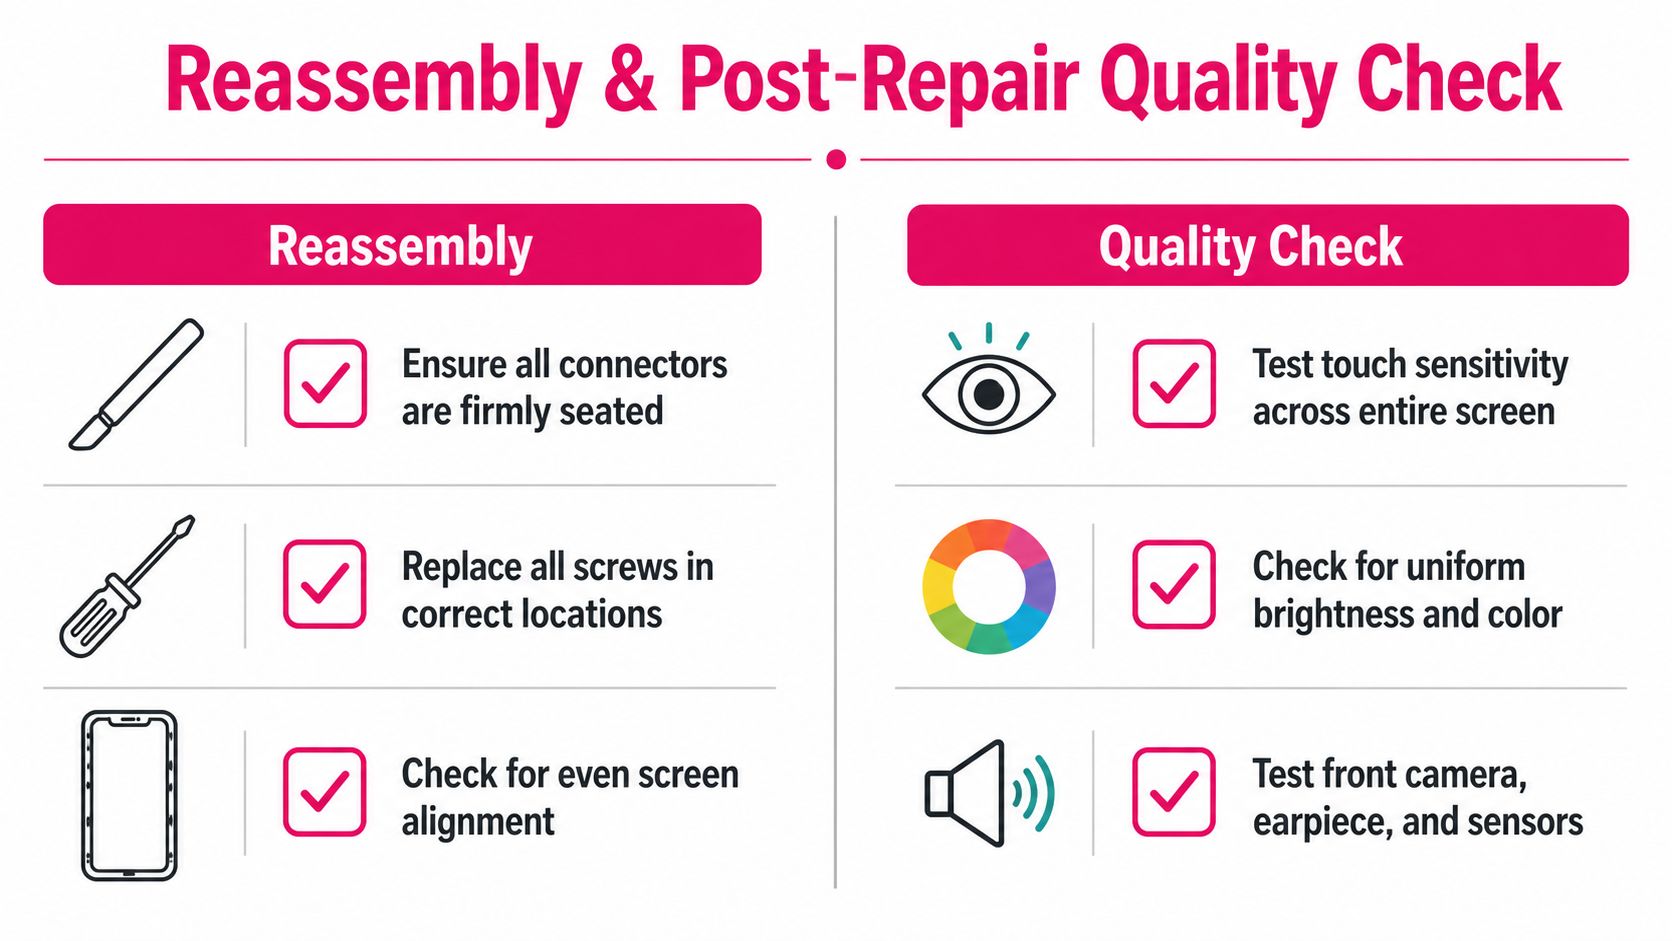
The battery connector goes back first, then the display connectors, then the bracket screws go in without being forced down. The display should clip back into place along the top edge before the bottom pentalobe screws return to their slots. If the frame will not close evenly, something underneath is not sitting right.
Then I power the phone on and watch the boot carefully. I swipe across every edge to catch dead zones, open a plain white screen to check for brightness banding, and then a plain black image to look for backlight bleed. Touch needs to be tested across the whole panel, not just the middle, because faults often show up where the thumb lands first.
- Touch coverage: Drag across corners, edges, and centre to spot dead zones.
- Display uniformity: Check white and black backgrounds for banding or bleed.
- Sensors and audio: Confirm the proximity sensor, ambient light sensor, earpiece, and front camera still behave normally.
- Home button and Touch ID: Make sure both survive the transfer cleanly.
- Parts and Service History: Look in Settings for the display record, where supported by Apple's current device info tools.
A quick visual check is not enough. Press lightly around the edge of the panel and listen for any creak or lift, because a screen that sits proud now usually comes back loose later. If the display has been opened carefully but the image looks uneven, the part itself may be at fault rather than the fitting.
Bench rule: if the screen closes but the touch feels wrong, do not blame the software first. Re-open it and check the connector seating.
When DIY Is the Wrong Call and How a Mail-In Repair Helps
DIY is fine until it isn't. A badly bent frame, a phone that's already been opened by someone else, visible water damage, or a board fault makes the job less about screen swapping and more about avoiding a second problem on top of the first. If you've got limited time or you're not comfortable handling fragile flex cables, the safer answer is to hand it over.
A good mail-in service suits that situation because the handset can be logged, tested, repaired, and returned without you having to spend an afternoon wrestling the adhesive. Repair My Crack offers UK-wide mail-in phone repairs with free tracked Royal Mail postage both ways, transit insurance up to £750, and a 12-month warranty on eligible repairs, with same-day diagnostics where feasible. The Harlow, Essex workshop is there for people who'd rather drop the device in by appointment, and that's useful if you're local and want a face-to-face handover.
The cleanest repair is the one that finishes with the phone working properly and the owner not worrying about what happened inside it. If you're weighing up whether the screen is worth saving, or you just want the right part fitted without gambling on the home button, get a quote and let a technician take the risk instead.
– James Waterston, Device Repair Specialist at Repair My Crack
If you want the screen replaced properly, with the part checked, the phone tested, and the job handled by a UK repair team that does this every day, visit Repair My Crack for a quote or to book a mail-in repair. If you're still deciding between DIY and professional help, we'll help you match the right screen option to the phone's condition, not just the lowest price.